Katniss Everdeen: The Hunger Games + Breakdown
My project is finally done! It all began with my love for "The Hunger Games" series and the character Katniss.
While working on it, I didn't just focus on modeling and texturing. I also spent time studying things like hair, look development, rendering, and lighting. Even though progress was a bit slow, the consistent effort and some thinking, experimenting, and learning from mistakes turned this into a meaningful experience.
I'm proud to see this as a result of my dedication and passion. Looking ahead, I'm eager to keep improving and create even better pieces.
Finishing this project made me appreciate other artists who make sacrifices for their projects. Their work has inspired and connected with me. Let's keep cheering each other on in our creative adventures! Bye

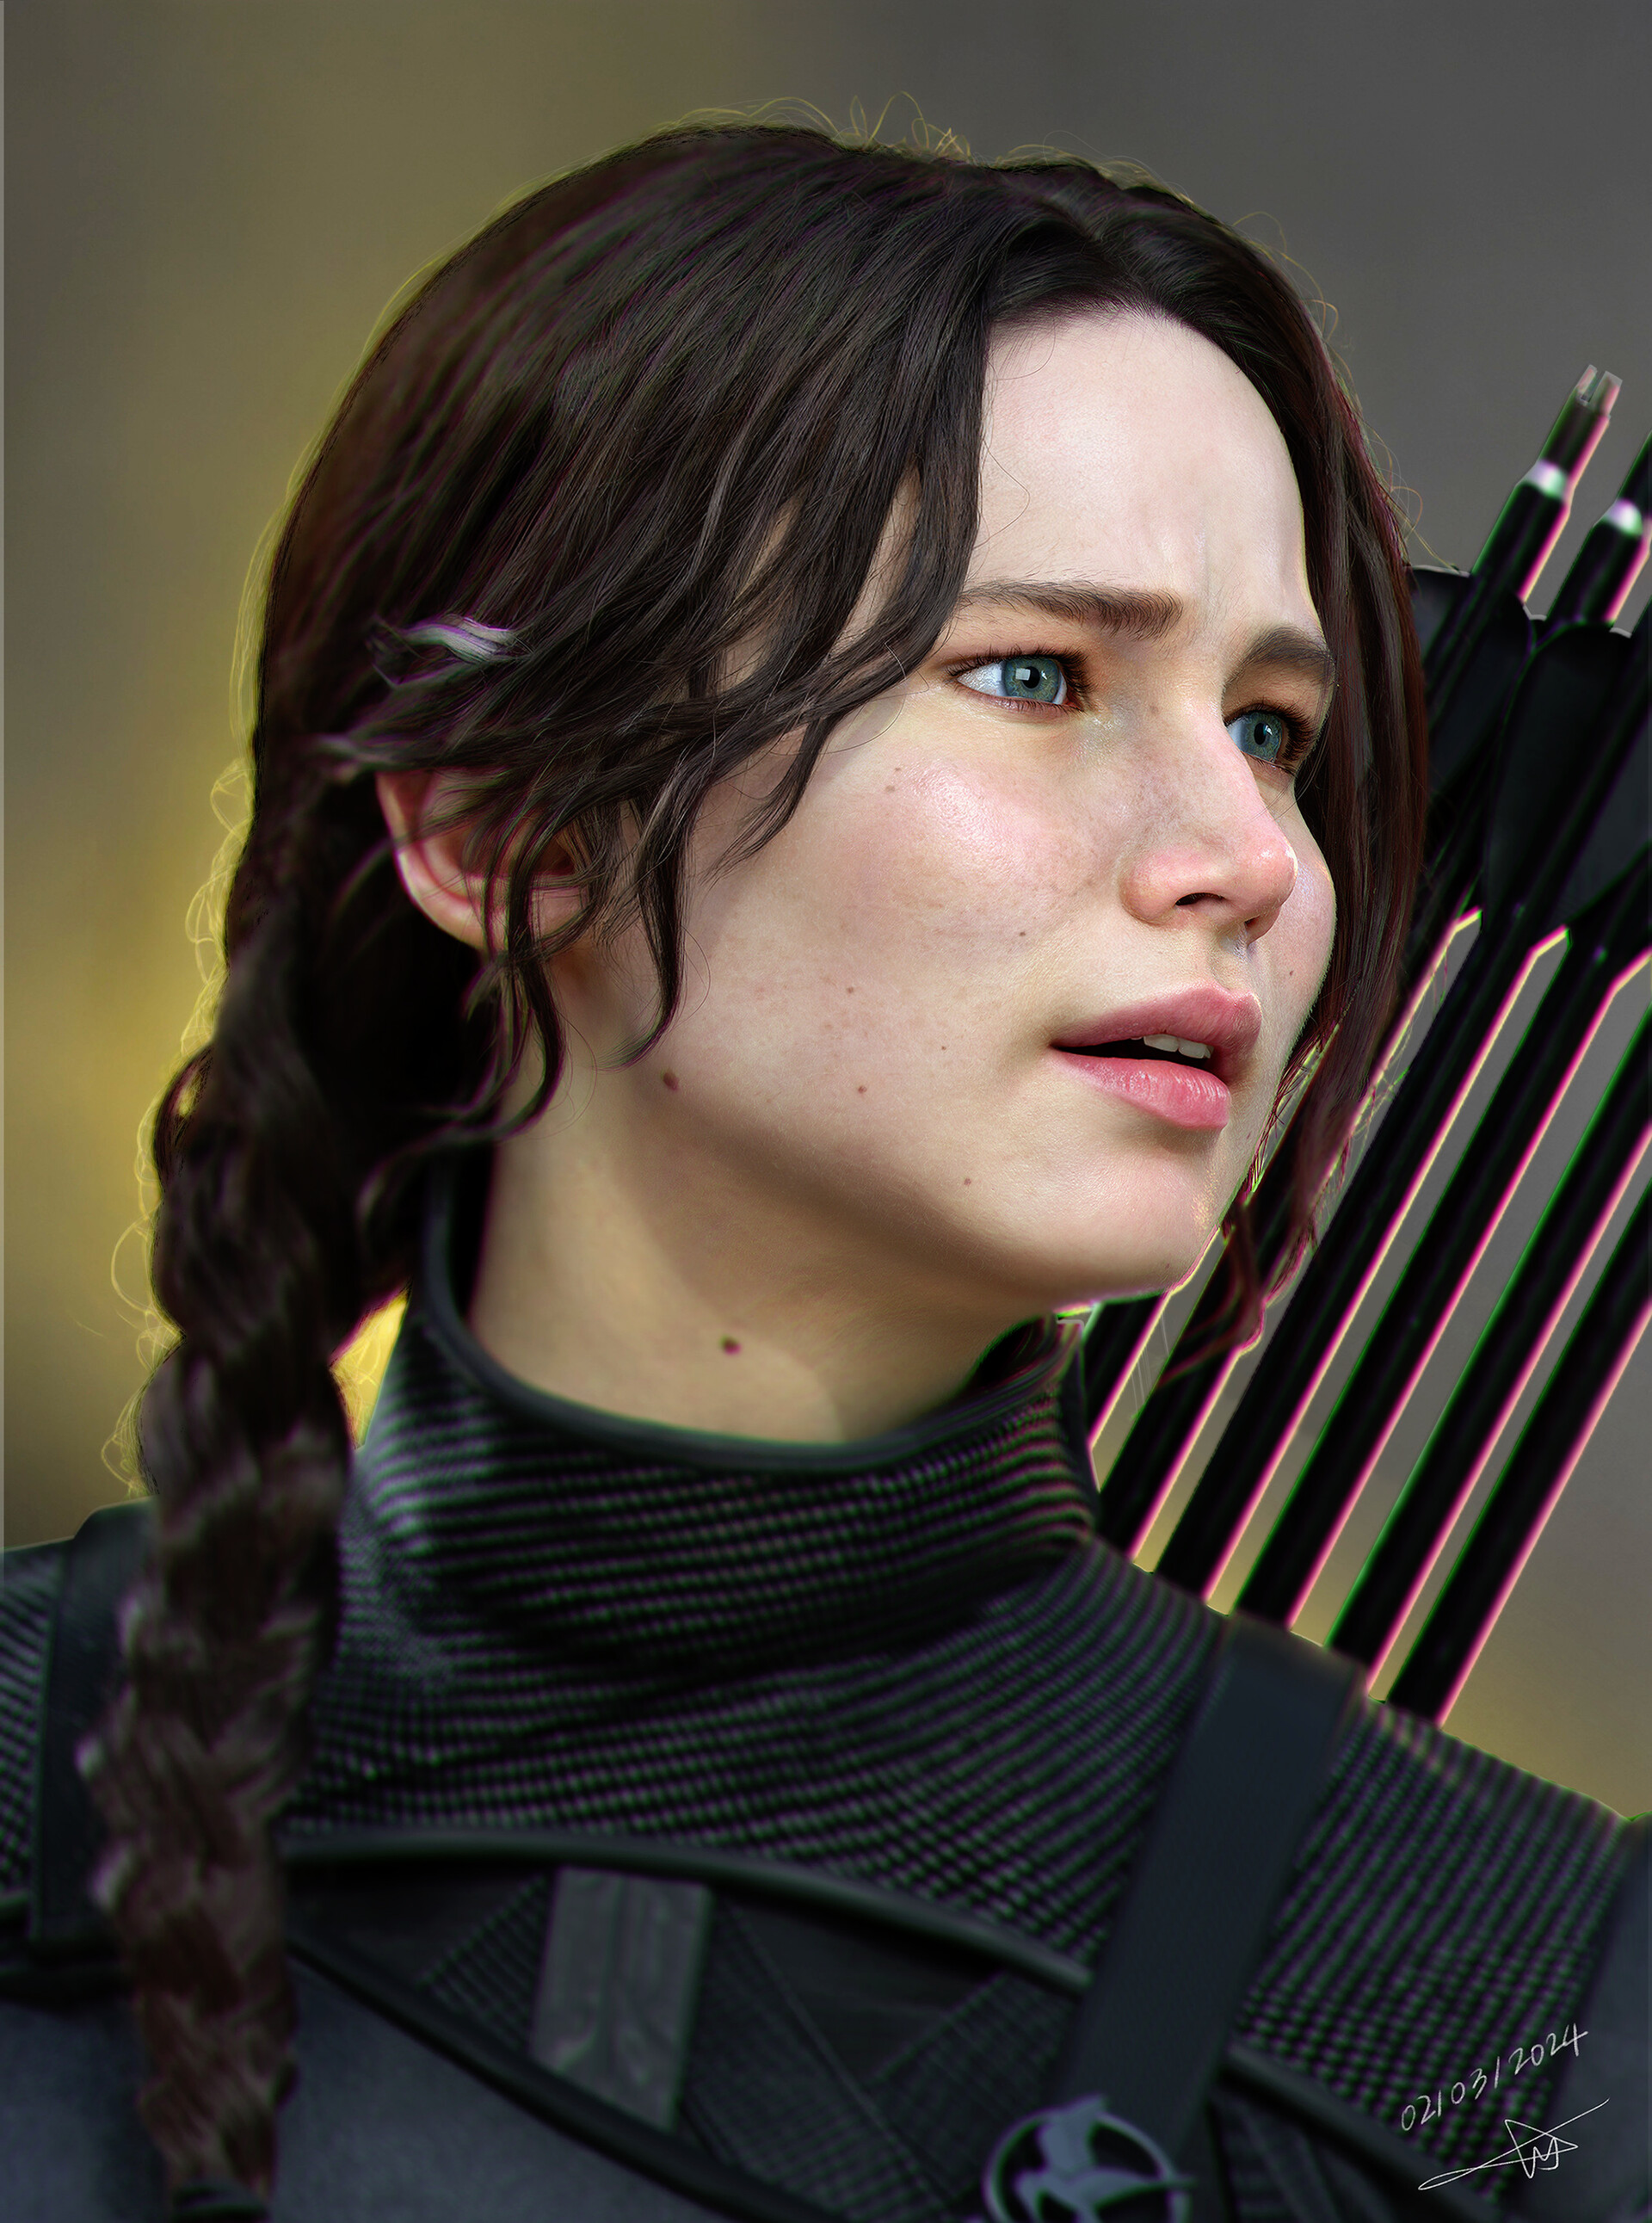
Beauty shot


Here is the project's pipeline and the programs I used.
Next to the 3D workflow, I made tags. it is the same steps of painting for realistic rendering.
This helped me grasp the 3D process better because I learned it from painting before.

< Project concept >
- Observation
After gathering them, I arranged each image around the center facing forward, covering 360 degrees.

In the early stages of the project, I sculpted a neutral facial expression.
As I progressed, I tried to project it onto a Metahuman mesh.
I tried to manipulate the facial rig to test expressions.

I chose the facial expressions from movie scenes.
I also picked a portrait with a yellow background.
This helped me set the final tone, as lights and environment can change clothes, skin, and hair color.

Here are some helpful tips to keep in mind when using reference images:
One Main Reference/ Flip the references horizontally/ Mind Focal Length/ Scanned Actor/Actress Data

< Modeling and Sculpting>
- Sketching & Midtones
In the image above, the model is at an advanced stage of the process.
But, I always begin by working with basic shapes and blocking out at the start.

The solid modeling serves as a powerful foundation for the entire project.
It can impact the quality enhancement of the later stages. So, I dedicated extra effort to this stage to ensure satisfaction with the final result.

Everyone has their own working method.
But for me, instead of focusing on details right away, I start by sketching the shapes and proportions.
After breaking the symmetry, I focused on the finer lines. They define the character's unique features.

< Wrapping, retopology, UV mapping and baking >
- Underpainting

< Texturing and grooming >
- Defining & Values
After applying textures using TexturingXYZ, I added colour variations in Photoshop, mainly focusing on the cheeks and glabella.

Head shader nodes, I followed 'VFace Fundamentals' tutorial on YouTube.

This hair is not for simulation purposes;
I used as many guides as I wanted. I added fine, fuzzy hairs to blend into the face.
They are placed around the brows, lashes, and along the hairline.

As for the curls, I first made simple straight guides for the flow.
Then, I generated the curls with a small amount of them. After that, I converted them to polygons and used Modify/Utilities to turn them into guides.

< Lighting and rendering >
- Lighting
When it came to lighting, it was the part I was least familiar with, so I tried to approach it as simply as possible.
I started with the basic studio light setup. Then, I made changes and additions as needed.


< Post-Production >
Aside from the main beauty shot with the yellow background,
I aimed to create a dramatic poster that would catch the eye.